Welding table fixtures and fittings
Introduction
We provide different kinds welding tools, Including the supporting parts, locating parts, adjusting parts, locking parts, clamping parts, Other accessoires ects.
These accessories play a crucial role in this modular and reusable tool system, helping you complete welding tasks perfectly and easily.
Now, you can choose the appropriate kit or individual component for your production task! Welding accessories include: bracket, extension, angle, stop, fixture, bolt Each accessory plays a crucial role in this modular and reusable tool system, helping you complete welding tasks perfectly and easily.We organize toolbox options professionally, including all necessary and effective work in welding tables.
Different of Welding table fixtures and fittings
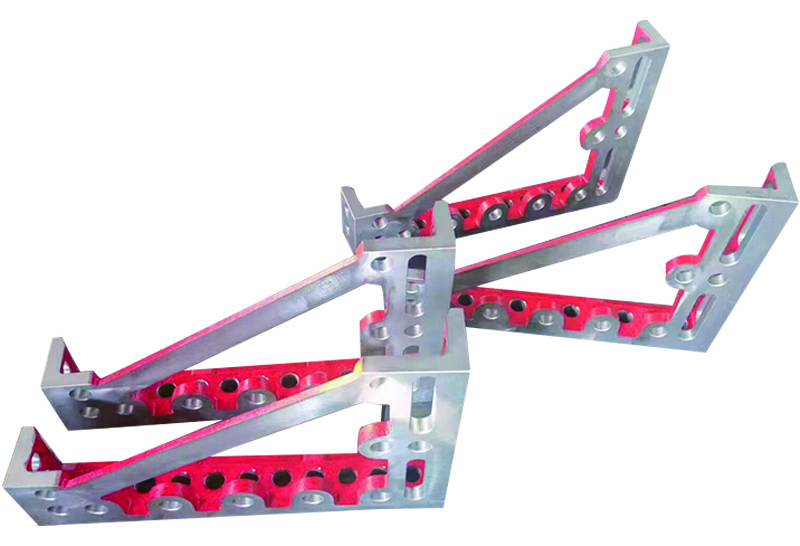
supporting parts
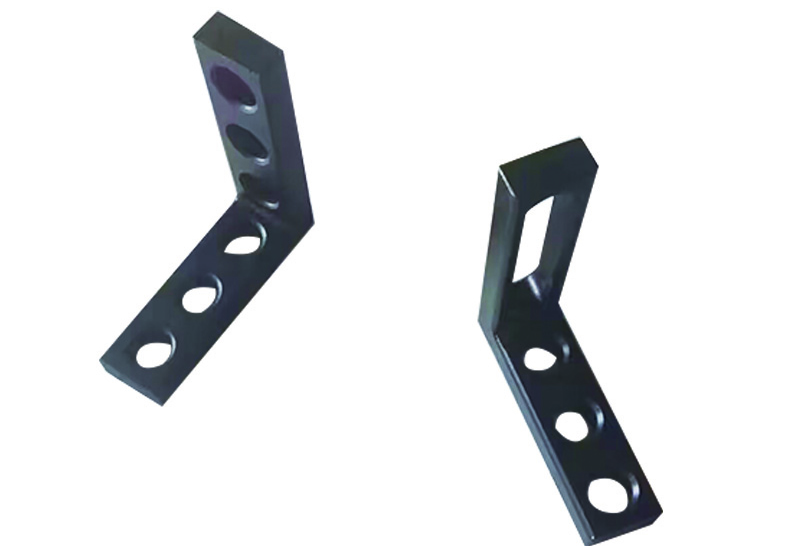
locating parts
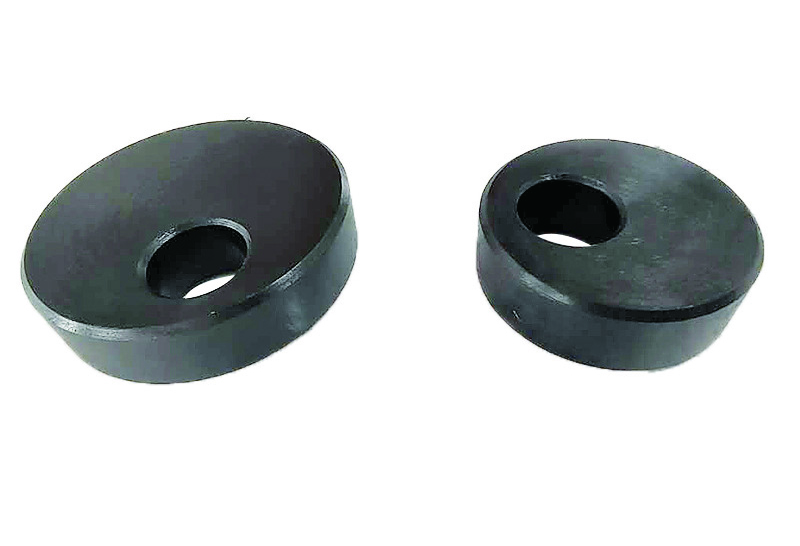
adjusting parts
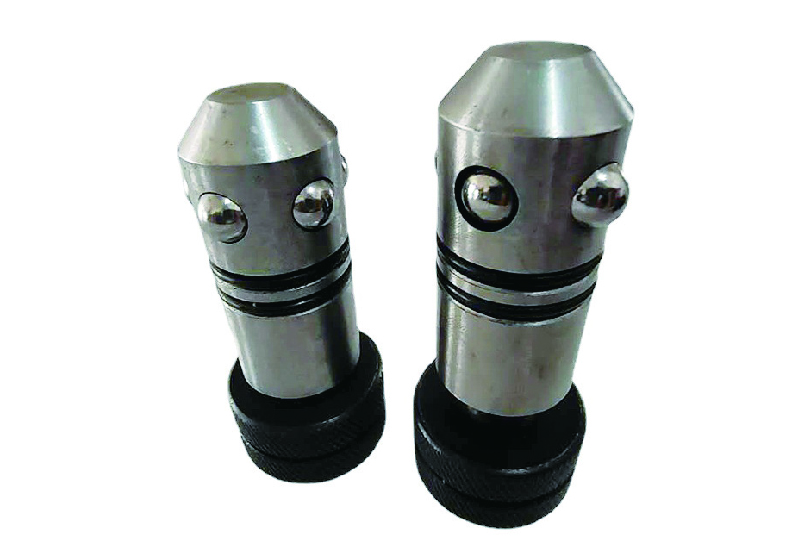
locking parts
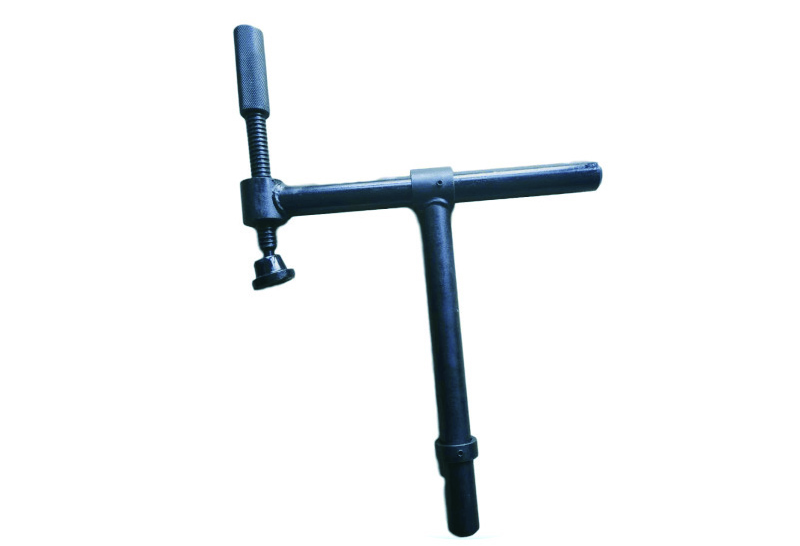
clamping parts
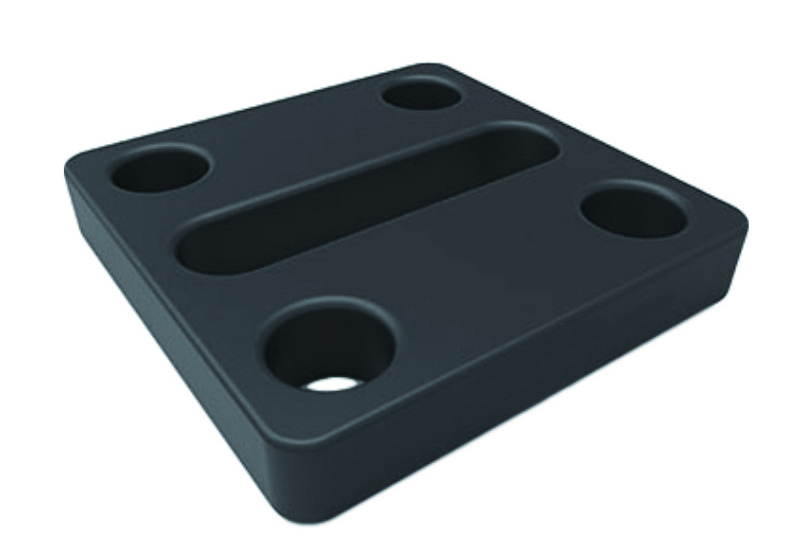
Other accessoires
How to use Welding table fixtures and fittings
Using welding table fixtures and fittings effectively involves several steps to ensure that workpieces are securely held and accurately positioned.
Here’s a general guide on how to use these tools:
- Preparation
Clean the Table: Ensure the welding table surface is clean and free of debris to maintain a flat working area.
Gather Tools: Collect all necessary fixtures and fittings for the task at hand. - Layout and Planning
Plan the Setup: Determine the layout of the workpieces and the type of welds you will be performing.
Mark the Table: If your table has a grid pattern, use it to mark positions and alignment points. - Using Clamps
Hold-Down Clamps: Place the workpiece on the table and position the hold-down clamp over it. Tighten the clamp to secure the workpiece flat against the table.
Toggle Clamps: Position the toggle clamp so that its arm can press down on the workpiece. Engage the lever to lock the clamp in place.
Corner Clamps: Use corner clamps to hold two pieces at a right angle. Position the pieces in the clamp and tighten it to secure them.
C-Clamps: Position the C-clamp over the workpiece and tighten the screw to hold it in place. - Using Stops and Positioners
Edge Stops: Position the edge stop against the edge of the workpiece to hold it in place. Secure the stop using the table holes or slots.
Angle Stops: Adjust the angle stop to the desired angle and position it to hold the workpiece at that angle.
Positioning Squares: Place the positioning square to ensure the workpieces are at a perfect right angle. Secure it with clamps or screws if necessary. - Using Magnets
Welding Magnets: Position the welding magnet at the desired angle (e.g., 90 degrees) and place the workpieces against it. The magnet will hold the pieces in place.
Adjustable Welding Magnets: Set the magnet to the desired angle and use it to hold the workpieces together. - Using Mounting Plates and Fixtures
Fixture Plates: Attach the fixture plate to the table using bolts or clamps. Position the workpieces on the fixture plate as needed.
Modular Fixture Kits: Assemble the modular fixtures according to the shape and size of the workpieces. Secure them to the table and position the workpieces within the fixture. - Using Alignment Tools
Laser Alignment Tools: Set up the laser tool to project a line or dot along the desired weld line. Align the workpieces with the laser.
Measurement Gauges: Use measurement gauges to check the dimensions and alignment of the workpieces before welding. - Using Jigs
Welding Jigs: Position the workpieces in the jig and secure them using clamps or screws. The jig ensures repeatable and accurate positioning for multiple welds. - Using Stops and Blocks
Stop Blocks: Place the stop blocks at the desired positions on the table to prevent the workpieces from moving.
Support Blocks: Use support blocks to keep larger workpieces level and steady during welding. - Using Spacers and Shims
Spacers: Insert spacers between the workpieces or between the workpiece and the table to achieve the desired height or separation.
Shims: Use shims to make fine adjustments to the height or angle of the workpieces. - Using Tables and Extensions
Extension Arms: Attach extension arms to the table to support larger workpieces that extend beyond the table surface.
Rotary Tables: Place the workpiece on the rotary table and use it to rotate the workpiece for welding around its circumference. - Fixtures for Pipes and Tubes
Pipe Clamps: Position the pipe or tube in the clamp and tighten it to hold the pipe securely.
Tube Notchers: Use the notcher to create precise notches in the tubes before positioning them for welding. - Accessories and Safety Equipment
Fixture Pins: Insert fixture pins into the table holes to locate and secure fixtures.
Work Benches: Use additional workbenches to hold tools and accessories.
Screens and Shields: Set up screens and shields around the welding area to protect from sparks and UV radiation.
Ground Clamps: Attach the ground clamp to the workpiece to ensure proper grounding for welding.