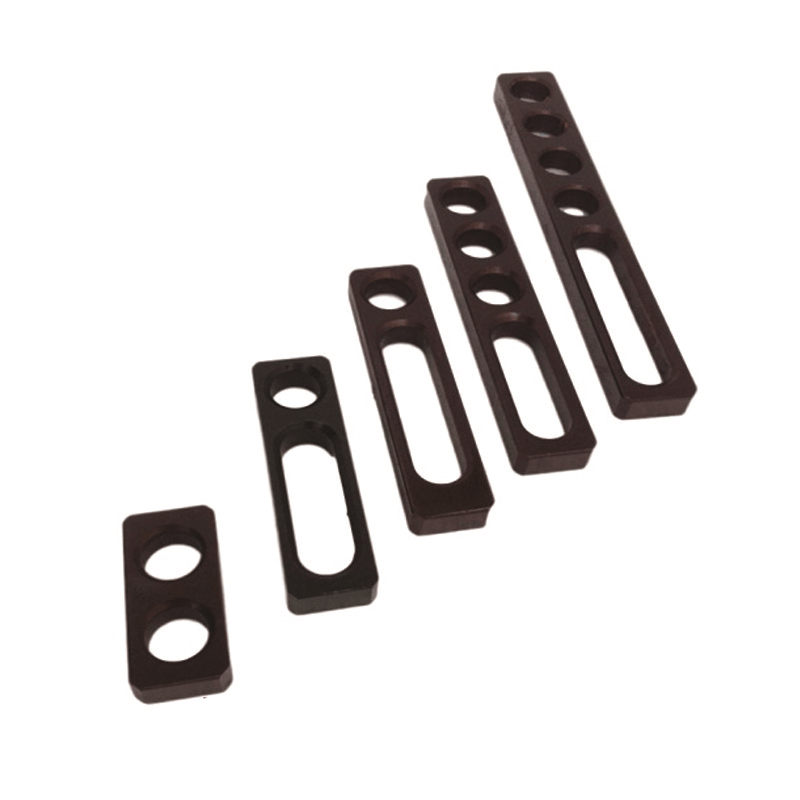
Leveling rule
Positioning square is a precision measurement and positioning tool, widely used in machining, assembly, testing and other fields to ensure the precise positioning of the workpiece and processing quality. Here’s a closer look at its details:
Structure and function
Structure design:Multi-sided adjustable: The positioning square design has an adjustable structure, which can be adjusted and positioned on the table and clamping accessories in a full range, and the locking pin is used to achieve rapid positioning and clamping on the five faces of the table, and the adjustment accuracy can reach an integer multiple of 25mm.
Multi-angle positioning: Support 45°, 90°, 135° and 180° and other angles of positioning and clamping, to meet the needs of different workpiece processing.
Connection design: Through two sets of drilling holes, the two parts of the positioning scale can be tightly connected, suitable for operation in confined Spaces.
Functional features:
High-precision positioning: To ensure that the workpiece in the processing process to achieve the required dimensional accuracy, is an important auxiliary tool for workpiece processing.
Strong versatility: the holes on it can be used to install a variety of fast pressing parts or fast toggle fixtures to improve processing efficiency.
Surface treatment: The specially treated surface has good flexibility and wear resistance, extending the service life.


Material and manufacturing
Material selection: The positioning ruler is generally made of excellent cast iron, and some rectangular positioning ruler used in high-precision requirements or special environments may be made of bearing steel or granite to provide better stability and wear resistance.
Manufacturing process: The measuring surface is mostly processed by scraping method, which can store lubricating oil and accommodate ash, and improve the smoothness and reliability of use.
Precision and standard
Straightness: The straightness of the measuring surface of the positioning square is the main precision index to measure its quality. According to the different straightness tolerance values, the positioning square is divided into different accuracy levels.
Standardization: According to the accuracy level of manufacturing and selection of positioning ruler, help to unify the accuracy of process equipment, improve the accuracy of product manufacturing and use.
Application scenario
Flatness test: Used to test flatness of flat plate and long guide rail by coloring method and indicator method.
Straightness test: It is also commonly used to check the straightness of the edge of the workpiece by the light gap method.
Combination fixture: With a variety of combination fixture used to achieve rapid positioning and clamping of the workpiece, improve production efficiency.
Main feature
Strong durability: the surface of the finished work platform is specially treated to resist welding splash damage and extend service life.
Flexible and changeable: provide a variety of combination fixtures, support arbitrary combination, to adapt to the processing needs of different workpieces.
Efficient and accurate: Fast clamping, ensure accurate workpiece positioning, improve product quality and production efficiency.
Good equipment flexibility: by replacing the corresponding fixture, it can quickly adapt to the processing of different products and avoid the elimination of equipment.
In summary, the positioning scale is a high-precision, multi-functional positioning and measurement tool, which plays a vital role in the machinery manufacturing industry.
D28 series Leveling rule sizes
100X50x25
150X50X25
225X50X25
500X75X25
1000X75X25
D16 series Leveling rule sizes
55X25X12
90X25X12
140X25X12
190X25X12
250X50X12
400X50X12